Table of Content
- But first, what is charcoal?
- What makes charcoal worthwhile for drawing beginners?
- Is charcoal better than a lead pencil?
- What are the different types of charcoal?
- What are the materials needed for charcoal drawing?
- How should you hold a charcoal pencil?
- Charcoal Drawing: Techniques, Methods, and Tips
- How to Draw With Charcoal: A Step-By-Step Guide
- Charcoal Drawing Ideas
- Can charcoal be used alongside other mediums?
- How do you clean up after using charcoal?
- Conclusion

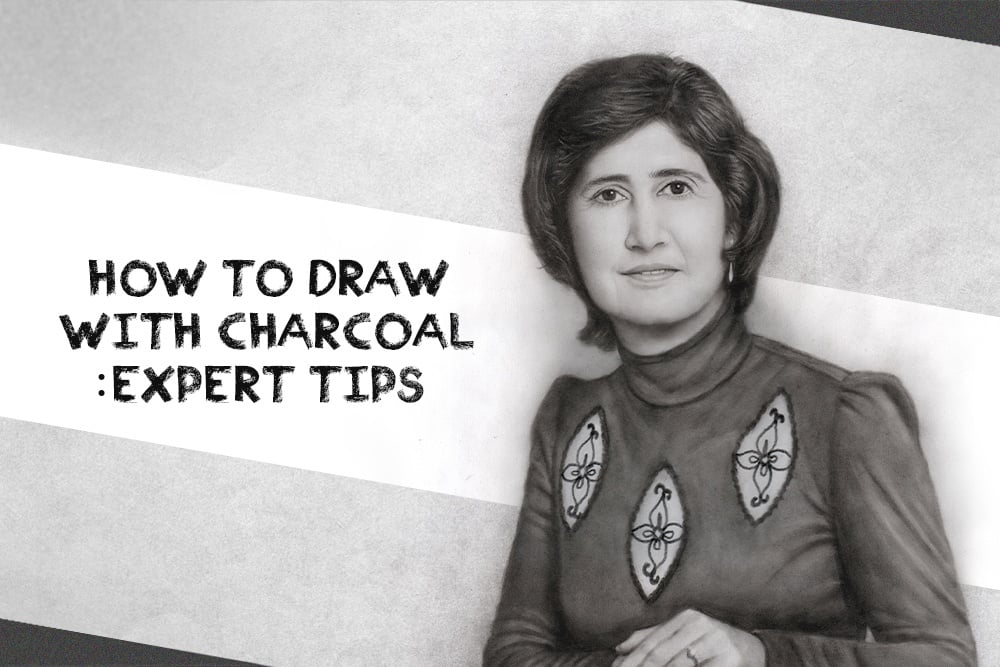
A picture need not be colorful and vibrant to be classified as ‘art’. On the contrary, you can use a medium such as charcoal to create stunning black-and-white images that almost look like paintings. Charcoal is one of the best tools in art because of its scope for blending to create various textures and tones.
Drawing beginners may find the charcoal world intimidating, but understanding certain concepts can help. These include knowing what charcoal is, its techniques and methods, and the steps it takes to complete charcoal sketches. This article will cover these topics in depth and help you master artistic abilities by learning how to draw with charcoal.
But first, what is charcoal?
Charcoal is the charred and burned remains of organic material, having a chalk-like texture. In drawing materials like some sketching pencils, charcoal is typically the scorched residue of compacted wood. When you apply charcoal on paper, you can smudge and smoothen it easily to create charcoal sketches.

Credit: Yury Kizima via Getty Images
What makes charcoal worthwhile for drawing beginners?
As a medium, charcoal may have the reputation of being messy and limiting. But in reality, it is a versatile tool that can help you unleash your creativity when drawing. Even though there is technically only one color to work with, you can do wonders with charcoal by varying the shades and tonal range.
In charcoal drawings, the importance automatically goes to light and dark shades rather than color theory or combinations. You can use this to create depth and dimensionality in your picture and even attempt hyperrealism with charcoal. Typically, it is best suited for sketching portraits and nature landscapes.

Credit: Udemy
Is charcoal better than a lead pencil?
Like when using paint, you can easily mix, distribute, and erase charcoal if there is a mistake. It creates deeper, matte blacks than the shiny, reflective greys a regular lead pencil makes. It is also more blendable than a graphite pencil, allowing for more effects, gradients, and smooth shading transitions.
It might be easier to draw with a basic graphite pencil. But, many artists begin their art journey with charcoal drawing lessons because the medium is dynamic and full of potential.
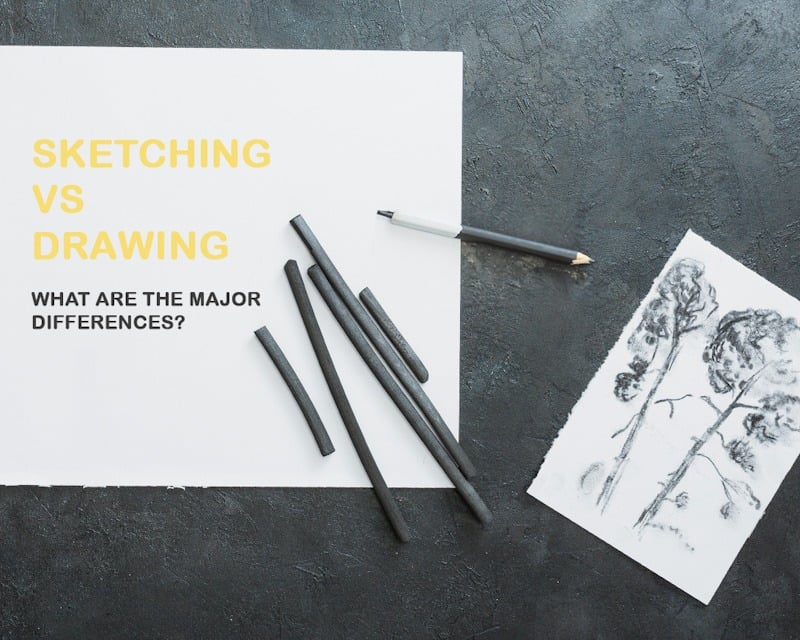
What are the different types of charcoal?
The different charcoal types are based on their hardness grade, shape, and such features. These criteria can help classify it into hard or soft charcoal, powdered charcoal, etc. Typically, artists divide charcoal into these three types:
1. Vine or Willow Charcoal
Willow charcoal, also called vine charcoal, is made of scorched willow wood. It is the softest type of charcoal that is usually available in a raw, uncoated form shaped like a round stick. It forms soft and light marks, making it appropriate for large-scale drawings.

Credit: Joanna Wnuk via Adobe Stock
Vine charcoal can be applied smoothly on the canvas and just as easily wiped away. Because of this, it is most suitable for creating rough drafts and preliminary sketches. You can choose it as you draw your first draft because you can easily smudge and blend it with a blending stump.
2. Compressed Charcoal
Compressed charcoal is a much darker and harder variant of charcoal, coalesced by a gum binder. You can use this type of charcoal to draw clean, sharp, dark lines and textures. So, compressed charcoal is most suitable for drawing permanent and hard lines, shapes, and forms.

Credit: Easy Stationery
Typically, it is in the form of a pencil or round or square sticks. You can even find pigmented variations, such as compressed white charcoal. Since it is harder to smudge and erase, remember that compressed charcoal might be more suitable for final defining touches than rough drafts.
3. Powdered Charcoal
As the name suggests, powdered charcoal is a crushed-up version of raw charcoal. Since it is pounded into dust-like consistency, it is found in tubs or containers.
You can use powdered charcoal to create soft layers and light tonal shades in your picture. It is especially suitable for covering vast chunks of space on the canvas and defining the highlights by adjusting layers.

Credit: IndiaMart
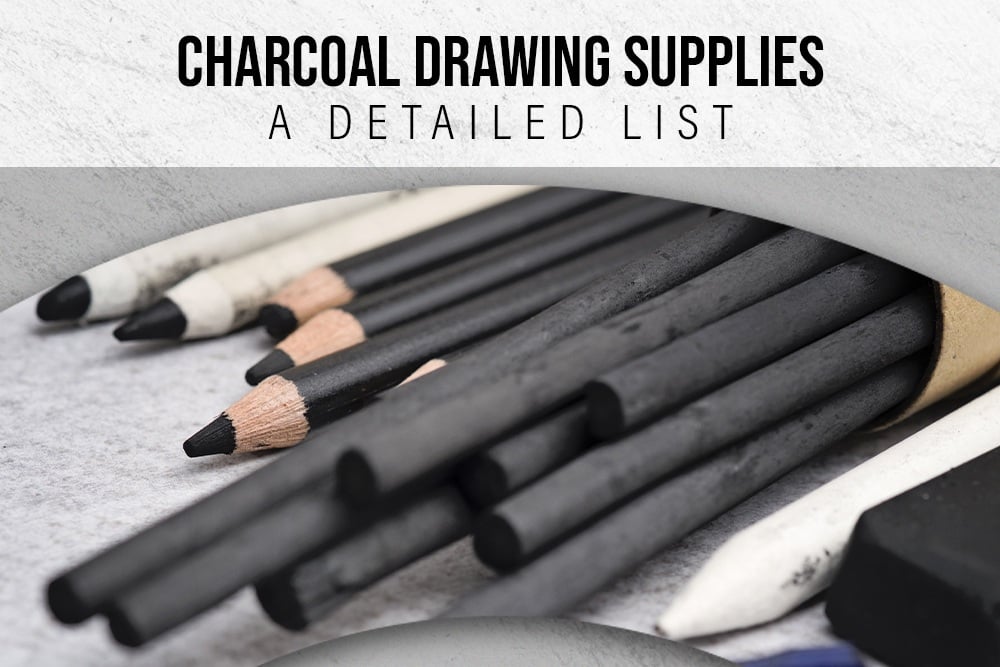
What are the materials needed for charcoal drawing?
Before jumping into charcoal drawing, be prepared with all the tools and supplies you might need along the way. Keeping all the necessary equipment with you ensures you can create more tonal variations, shade ranges, and textures.
As you begin, gathering different kinds of charcoal is a good idea since you may need them at various points in your drawing process.
How do you lift and blend charcoal smoothly?
Grab a putty rubber or kneaded eraser since it is the most compatible with charcoal for its removal. Some tailor’s chalk or white charcoal comes in handy for highlights and finishing touches.
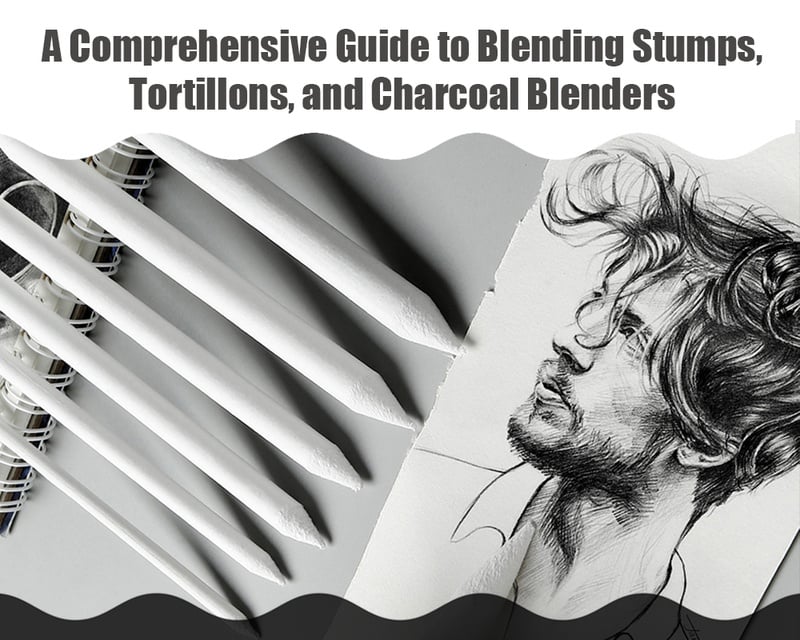
Having a blending stump to smear textures and create shadows with charcoal is also useful. It can even just be a brush or a piece of rolled-up paper that you can use for smudging.
How do you prevent a mess while charcoal drawing?
Keeping a fixative and some paper towels at your disposal is optional. The spray sets the charcoal and ensures it isn’t smudged. A paper towel or a maulstick between your palm and the paper can help avoid any potential mess or accidental smearing.

Credit: Art In Context
How do you sharpen charcoal?
Keep a sharpening block nearby to chisel the charcoal when needed. You can also use a sanding block and rotate the charcoal against it to create a fine point. For charcoal pencils, carving out the tip with a craft knife works.
What kind of paper should you use with charcoal?
Although any kind of paper or canvas works for charcoal drawings, using a plain cartridge sheet might not give you the best results. Different kinds of textured surfaces work best for charcoal. So, let’s look at the main types of paper that a charcoal artist might consider using:
1. Toned Paper
The best thing about toned paper is that any color works well on it. So, creating shadows and highlights through charcoal will also be effortless on its surface. You may also need a white graphite or charcoal piece since the whites are usually absent.
Moreover, toned paper is available in different hues, which makes it suitable for use with a monochromatic tool like charcoal. For example, if you get a skin-toned sheet of paper, drawing human portraits would be ideal upon the beige base color of the sheet.

Credit: Fotosen55 via Adobe Stock
2. Plain Textured Paper (White)
A sheet of white paper is also a good option as a base for charcoal drawings, especially to achieve contrast. An illustration board, bristol paper, or even plain cartridge paper works in its place if you can’t find good-quality textured paper.
3. Charcoal Paper
The course and ribbed texture of the charcoal paper make it ideal for use with charcoal. Since charcoal paper is heavy and thick, the charcoal will remain on its surface rather than crumble away while shifting. Pastel and watercolor paper can be a substitute, too, since such bulky materials do not tear easily with texturing and layering.
How should you hold a charcoal pencil?
Willow charcoal and most kinds of compressed charcoal are in the form of round or square sticks. So, as beginners, holding them like a pencil will not work the best. However, for adding dark and detailed marks, having such a steady grip can help.
Otherwise, try to place the charcoal between your thumb and forefinger, with the palm turned towards the paper. This way, your shoulder and elbow also play a role in managing the charcoal piece rather than your wrist alone. This isn’t a strict rule; it depends on the artist’s preference.

Credit: Jae Johns
You can hold it like a pencil if that’s how you prefer it, and experiment with different angles and degrees of pressure. You can also try holding the charcoal piece at its nib, with your thumb below and forefinger by the tip. Ensure that the rest of your fingers loosely grip the end of the pencil.
Keep your wrist firm and handle the movements primarily with your elbow or shoulders. This will give you a natural rhythm to help you form creative textures and marks using charcoal pencils.
Charcoal Drawing: Techniques, Methods, and Tips
Before we get into the detailed step-by-step guide on how you can draw with charcoal, let’s understand the leading techniques and approaches involved.
Techniques
The techniques of making a charcoal drawing are similar to those of a pencil drawing. However, it has its nuances because of the difference in texture and consistency of the material. But, just like a graphite pencil, you can use charcoal pencils for stippling, hatching, contour lines, and shading.
The leading three charcoal drawing techniques artists employ are:
1. Blending charcoal
The smudgy, powdery nature of charcoal makes it one of the best materials for creating shades by smearing. By blending charcoal, you can form light and dark values, contours, shadows, highlights, and more. For instance, you can make smokey effects, smooth transitions, even-toned backdrops, etc., using a blending stump.

Credit: Strathmore Artist Papers
Tools like blending stumps, tortillions, or chamois work better than a brush to avoid the charcoal dust being erased. However, an extra soft brush also can help compress the charcoal onto the paper.
2. Layering charcoal
Charcoal is also best for layering, especially on rough, bumpy paper. Building layers is a gradual process but can eventually lead to fantastic results in the form of deep black tones.

Credit: The Drawing Source
You can layer slowly by starting with a loose grip and adding more pressure with each additional layer. In this way, you can build up different gradations of black.
3. Texturing charcoal
One of the best charcoal drawing techniques is its potential to create different kinds of textures, smooth or coarse. Using the charcoal stick on its side and rubbing it across the paper will highlight the surface texture, so use a toothy sheet for better results. You can further blend it to smoothen it out.

Credit: Windsor & Newton
The outcome will differ based on the type of paper and charcoal used and the pressure applied, so experiment with different combinations. You can use such texture to draw grass, hair, fur, or certain fabric types. Since this technique is more suitable to cover larger areas, opt for a sharp charcoal pencil for more defined lines.
Methods
Now that you know the main charcoal drawing techniques, let’s move on to the methods. There is a unique way to handle charcoal, especially compared to other mediums. The most suitable method of using charcoal is the subtractive method.
What is the subtractive method of charcoal drawing?
Usually, artists draw the outlines and details first and then get into shading. In this subtractive method, you must start shading the mid-tones rather than the lightest or darkest values. It is one of the best ways you can draw with charcoal.
Once you finish, you can make the shadows darker and lift the light values by erasing those areas. You can leave the space blank or use white chalk for the whitest highlights.
After setting the base with mid-tones, you can refine the edges, edit the errors and shift around the elements. So, there is no need to start with the intricate details right from the get-go. The picture will naturally form as you add the other tones and details.

Credit: Rossitza Todorova via Youtube
Once you add the mid-tones, you are essentially to deepen the dark-value areas and erase the light-value regions to create contrast. This step makes a range of shades and helps add the final touches as the charcoal drawing develops its structure.
Soft, easily erasable willow charcoal is thus most appropriate when starting. It will help you create the initial tonal masses in a flowy and evocative way, which can further be defined and built into a painting-like image.
Tips
Let’s look at a few specific and general drawing tips to help you use charcoal as an art medium.
1. Use an easel:
Working vertically on the canvas is ideal for all kinds of drawing; the same goes for charcoal. Mounting your paper on an easel makes handling a powdery, crumbly medium such as charcoal easier. Using some kind of textured paper is also recommended for beginners.

Credit: Pinterest
It ensures that you don’t accidentally smudge the messy dust with your palm and increases the precision of the details. Additionally, a charcoal holder can make the charcoal piece easier to hold and handle.
2. Start with mid-tones:
Although we usually draw the outlines first and then shade them with charcoal, it is advisable to follow the subtractive method and start with mid-tones. You can add shadows and lift the highlights with a kneaded eraser afterward, which gives you more control over the drawing.
3. Apply pressure lightly:
The primary way to use charcoal is to vary the pressure and create different tonal ranges. Since starting with mid-tones is ideal, use light pressure and increase it when adding shadows afterward.
But since charcoal can be pretty brittle, ensure you don’t apply too much pressure. A loose grip will always give you more control when drawing with charcoal.
4. Add the correct values:
If a color photograph is your reference, it might be hard to gauge where the light and dark value areas are. Squinting can help you better observe the value relationships between the shadows and highlights. Another tip is to apply a greyscale filter on the image without too much contrast to bring out its tonal range.
It is vital to render accurate values to achieve realistic results in a charcoal drawing. Use black charcoal to create the darkest, deepest values and apply more pressure.

Credit: Stefan Ress via Deviant Art
Using toned paper as the base and a white charcoal pencil for highlights can be beneficial. Start with light and subtle gestures to create mid-tones before working on the shades at the extreme ends of the spectrum.
5. Don’t get hung up on a single spot:
With pencil drawing, some artists start with the details from one corner or part of the picture and hyper-focus on it. However, with charcoal art, keeping the whole composition in mind as you play around with values is recommended. Comprehending how the different elements and tones relate is crucial as you complete your charcoal sketch.
Take a step back, and instead of focusing on just one spot, look at the overall picture for a sense of cohesion. When you add mid-tones, do it for the entire charcoal drawing rather than just one area. Do the same with the other values instead of filling in from one corner.
6. Keep an eye on the edges:
Since charcoal sticks can be somewhat blunt compared to a graphite pencil, observe the edges where the tones intersect. Edges can be soft and gestural, separating the different values by blurring. Hard and well-defined edges separate values more abruptly.

Credit: Pinterest
If you plan on doing a realistic charcoal sketch, paying attention to the edges is essential. Consider the position of the light, the atmosphere, and the perspective when drawing boundaries to create three-dimensionality.
7. Use a fixative spray:
The blendable, powdery, and messy nature of charcoal is equally one of its perks and flaws. So, once the charcoal drawing is ready, using a fixative spray that works as a varnish to set the charcoal dust is helpful. Make sure to use it in a well-ventilated area!
There are two kinds of fixatives, workable and final. If you use the former, you can continue to edit the picture after using the spray. With the latter, you cannot make any changes once it is set and sealed.
How to Draw With Charcoal: A Step-By-Step Guide
Now, you know what constitutes the process of creating charcoal drawings. You are also equipped with tips and tricks to enhance your charcoal sketching project. So let’s dive into the steps you should take while drawing a picture using charcoal as the medium:
Step 1: Observe and plan
The first step in any drawing endeavor is to study the reference and decide how to proceed. The same goes for creating charcoal sketches from a photo.
Try understanding the lighting, perspective and angles, white and dark values, etc. Identify the shapes and learn the subject's anatomy for a portrait or the layout of the geographic region for a landscape.

Credit: 9GAG
Sometimes, you may want to include only some elements of the reference image in your charcoal portrait. So plan what you want to capture in your composition and where the focal point would be. Choose a picture with a lot of contrast and analyze the proportions and the relationship between the elements.
Step 2: Map out the shapes broadly
Now that you fully comprehend your reference image, it’s time to create a vague contour on your canvas. A soft charcoal pencil is ideal for this sketch since it need not be well-defined.

Credit: Mike Philips via Pinterest
A light outline can help you position your elements accurately on the paper and separate contrasting shades. You can use a grid or sight measure and map or use the trace or transfer method. At this stage, you only need to loosely map out the shapes to block them on the page.
Step 3: Shade the tonal chunks
Now, it’s time to start with the most significant step in charcoal drawings, shading. As mentioned, starting with light gestures and shading the mid-tones is ideal. Identify the tonal masses- the large chunks of areas in a single shade range - and fill them in by shading.

Credit: Art Studio Life
Use powdered black charcoal or vine charcoal for the mid-tones and compressed charcoal to shade the dark values. Leave the light-value areas largely untouched.
By gradually building up the tonal values, you will give form to your composition. You will set the light passages in the charcoal drawing through this step.
Step 4: Increase the contrast
The next step is to increase the contrast by deepening the shadows and lifting the highlights by layering. Since you have shaded all three tones broadly, now aim to create more range by darkening the blackest parts and erasing the lightest parts.
You can deepen the tones by applying more pressure using black charcoal and lift the highlights using a kneaded eraser. As you add more stress, the paper will appear a matte black, and its texture will not appear as much.

Credit: Casey Baugh via Pinterest
Smudge powdered or vine charcoal to smoothen out mid-tones and transitional areas. While you should not ideally shade the whitest areas, you can use chalk or white charcoal to bring out the light passages. In the ‘highlight rendering’ method, you can use a kneaded eraser to lift the whiter areas.
Step 5: Blend out the shadows
At this point, your charcoal drawing may appear blurry and undefined, with the elements overlapping. Now that tones across the spectrum have been established, you can blend the harsh, dark lines and further refine the image.
Use a blending stump, brush, towels, or tortillion to smoothen out the shading done previously. Blending is essential in areas with highly sharp contrasts to create smooth transitions. This step gives the drawing a balanced and cohesive rather than a choppy look.

Credit: Guido Mauas
Step 6: Use hard and sharp charcoal to define the edges
Outline your highlights and refine the edges of the elements in the picture. In areas of smooth value transitions, edges are barely visible. But in areas of sharp contrast, you need to highlight the well-defined boundaries that separate the tones.
Using a sharp, compressed charcoal stick for harsh edges and soft, round charcoal sticks or powdered charcoal for smoother areas is advisable. With each layer, add more details and cast shadows.

Credit: Anastasia Terskih
You can even use a kneaded eraser to add definition to overly blurry regions and pull out the highlights. A white charcoal pencil can help outline these highlights and further define them. Use the same for grading the mid-tones and gray values as you refine the edges and shades.
Step 7: Draw the details and add texture
Now that your charcoal drawing has started taking shape, all you need to do is add the minute remaining details. For example, if you are drawing a portrait, add details like moles, wrinkles, small jewelry, etc.
It is better to use sharpened pieces of hard charcoal or charcoal pencils to get accurate results. For the details in the lightest highlights, use white chalk.

Credit: Pinterest
You can also add texture by changing the angle of the strokes as you apply them. You can use soft charcoals for cross-hatching, contouring, linework, etc., which will further help add texture and realism to your charcoal drawing.
With charcoal drawings, there is often no need to go extremely in-depth with the details. Most of the picture's realism comes through in the shading rather than the tiny specifications.
Step 8: Fix the charcoal drawing
Your charcoal drawing should appear ready at this stage if you feel there is a good balance between the lights, darks, and greys. A fixative spray on top is optional but highly recommended to ensure it doesn’t get smudged and ruined.
Be in a ventilated area or outdoors, and spray it consistently atleast 12 inches away from your charcoal drawing. It is recommended to avoid using hairspray instead of a fixative spray. This is because the former can significantly change the values of the charcoal.

Credit: Jackson’s Art
Allow each layer to dry as you build a protective film with the spray. Adding up to three coats should suffice, but check if there are any specific instructions from the manufacturer. This precaution is essential because some fixatives might change the color of the drawing, so you should use them sparingly.
Remember that this is just one way of starting charcoal sketches. Directly shade and blend the tonal masses if you don’t want to start with a rough contour sketch. You can even block in the areas using charcoal powder, although it might be more challenging to control as a medium. If you plan to do this, start with light layers for the mid-tones.
Charcoal Drawing Ideas
So far, you have been gathering information on the medium of charcoal by grasping charcoal drawing techniques, steps, and methods. But despite this new-found knowledge, if your mind is blank, let’s explore some ideas that work well with charcoal.
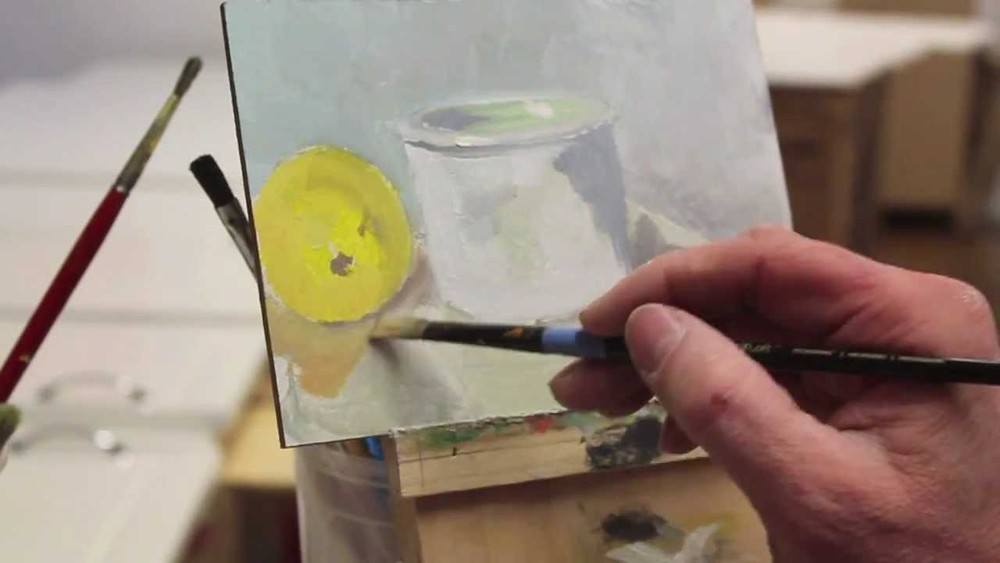
1. Still Life:
A still-life image or view will have different areas of shadows and textures that make it perfect for charcoal drawings. You can choose an angle and lighting position that contrasts the objects most in your reference image. It is one of the best ways to experiment with values using charcoal.

Credit: Michael Malta
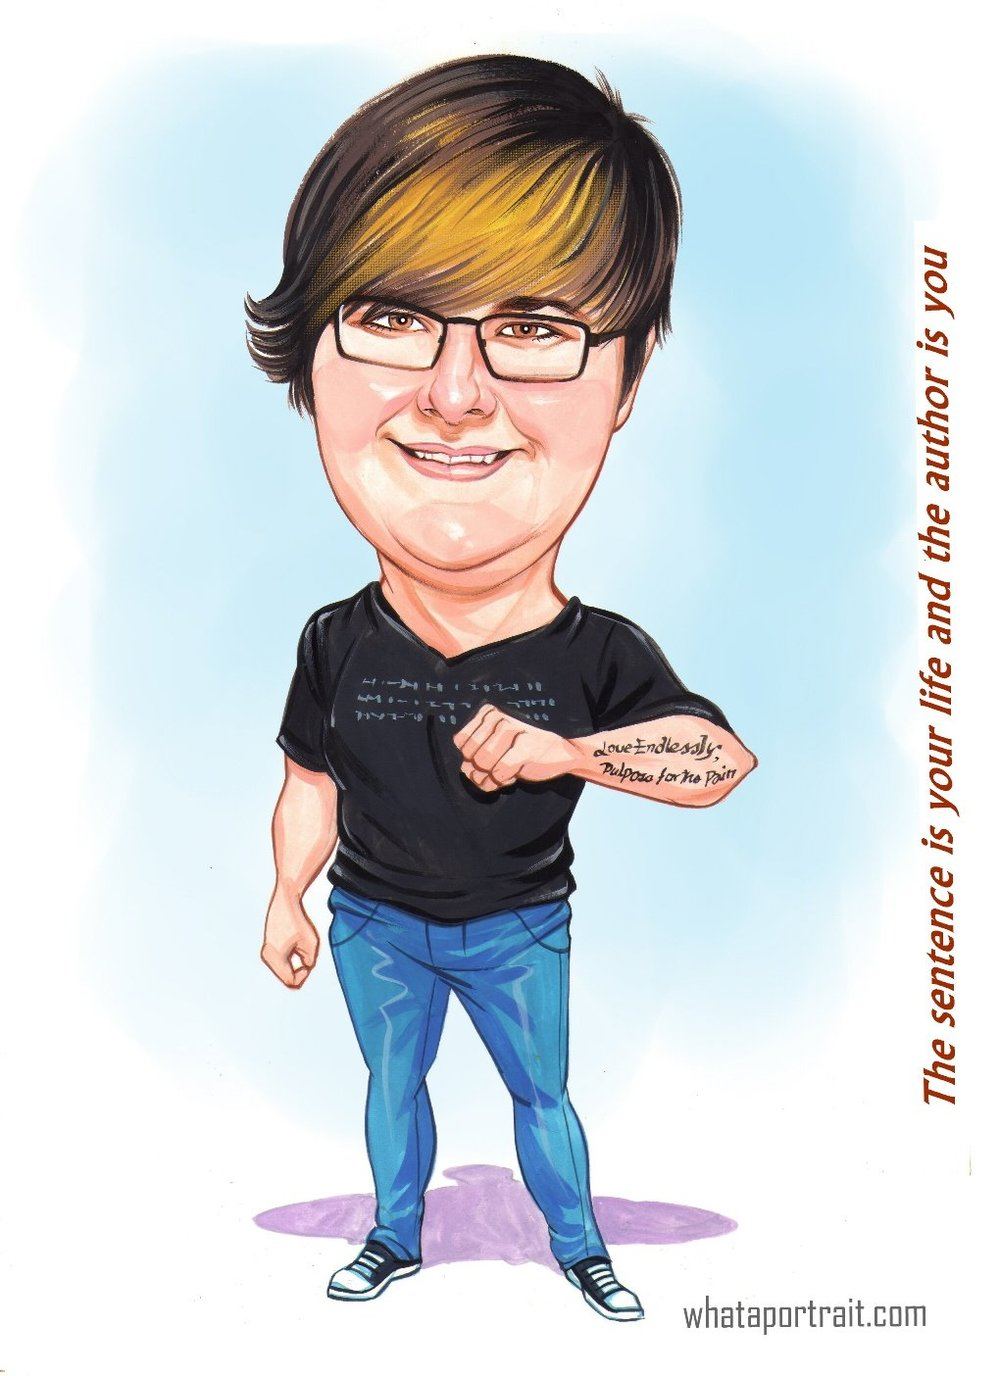
2. Portraits:
Portraits are also fitting for charcoal artwork because of the potential to create contrast with shadows and highlights. You can smudge and blend the charcoal to bring out the soft three-dimensionality of the face.

Credit: Oliver Sin
3. Landscape:
Charcoal can also beautifully capture nature and our surroundings. Again, there is scope to recreate various textures and shadows, such as a rock's roughness or a leaf's gleam. You can even draw animals and plants using charcoal.

Credit: Nicolas Goia
Charcoal also works for cityscapes, apart from the natural environment, meaning it is also a good option for drawing architecture and interiors.
Can charcoal be used alongside other mediums?
Have these creative charcoal drawing ideas sparked your imagination? Now you might wonder if you can mix charcoal with other mediums for a pop of color. The answer is yes!
Drawing with charcoal does not work on top of oil paint because of its texture. But you can use it with certain other mediums, such as graphite or soft pastels. It even works well over acrylic paint.

Credit: Dominique Deve
You can also use charcoal pencils to draw a primary rough draft and use oil paint over it. In general, charcoal is popular for underdrawing and first drafts.
How do you clean up after using charcoal?
Now that you know how to draw with charcoal, it’s time to figure out how to avoid a mess. Of course, regularly washing or wiping your charcoal-covered palms, tables, and surroundings can help. You can use wet wipes or soapy water to cleanse the dust.

Credit: Juna Biagioni Art
Before drawing with charcoal, you can cover surrounding areas with newspaper or paper towels. You can easily vacuum if the charcoal powder still creates a mess.
Conclusion
As you can see, using charcoal or charcoal pencils need not be as intimidating as it seems to be. It is a versatile and experimental tool that beginners can quickly adapt to and has a lot of benefits. Charcoal sketches will set your creative juices flowing and help you develop a sharp eye.
Unlike graphite, you can blend charcoal to create realistic depth through a range of shades. Learning to use charcoal can help you understand perceptions, lines, texture, tonal values, and other technical concepts in art.
Knowing the equipment you need for charcoal drawings can help you be prepared. Drawing with charcoal pencils to practice and build your artistic abilities can be beneficial for you as a budding creative. So grab a piece of charcoal and get shading!