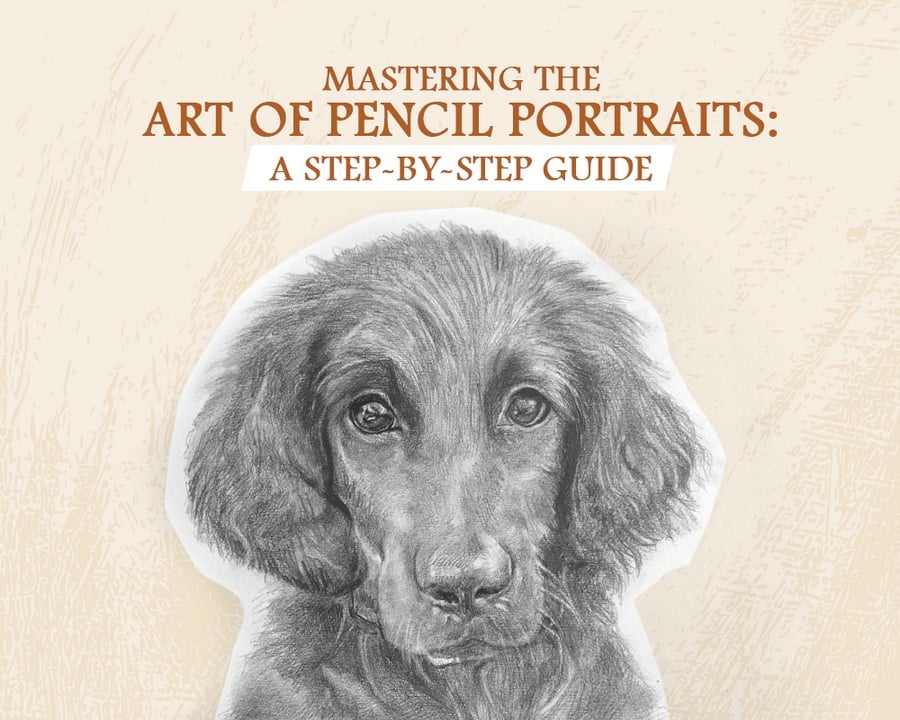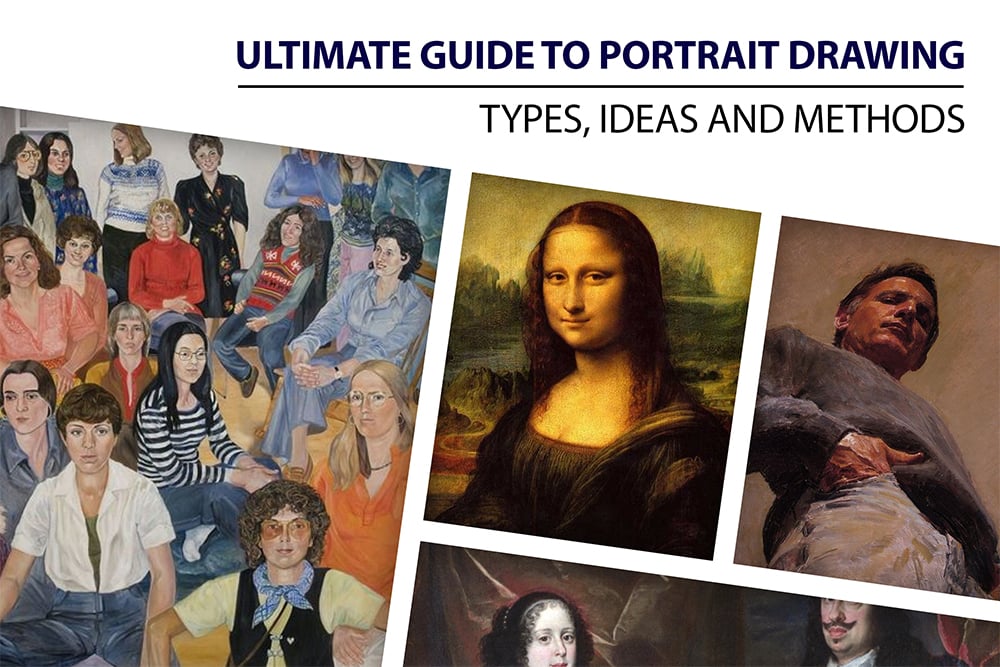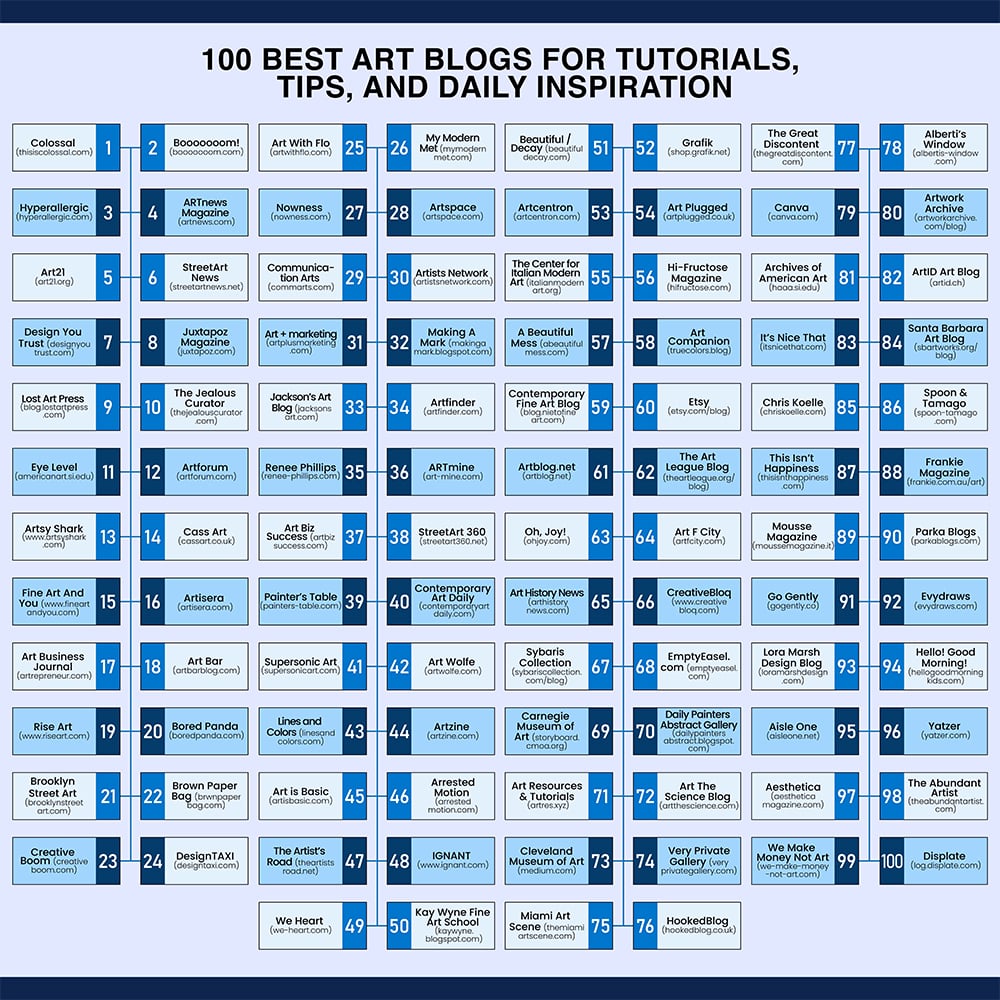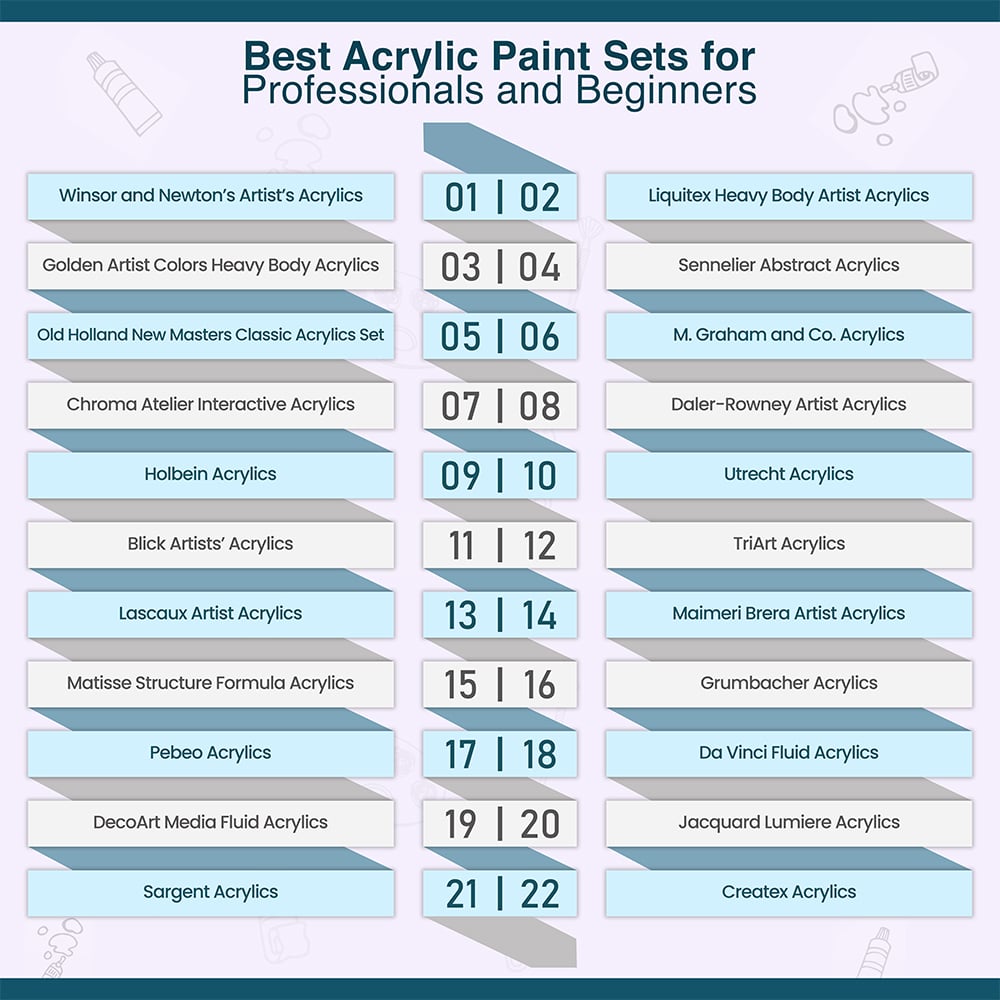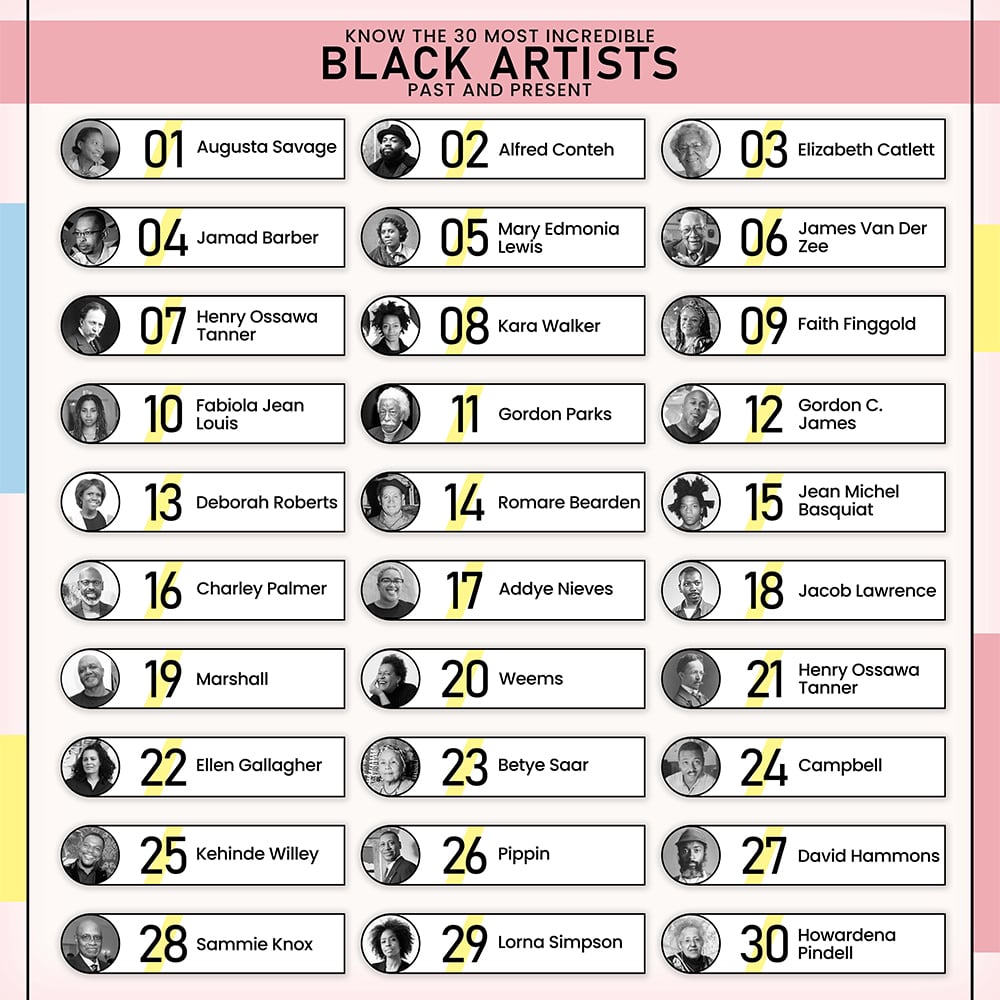
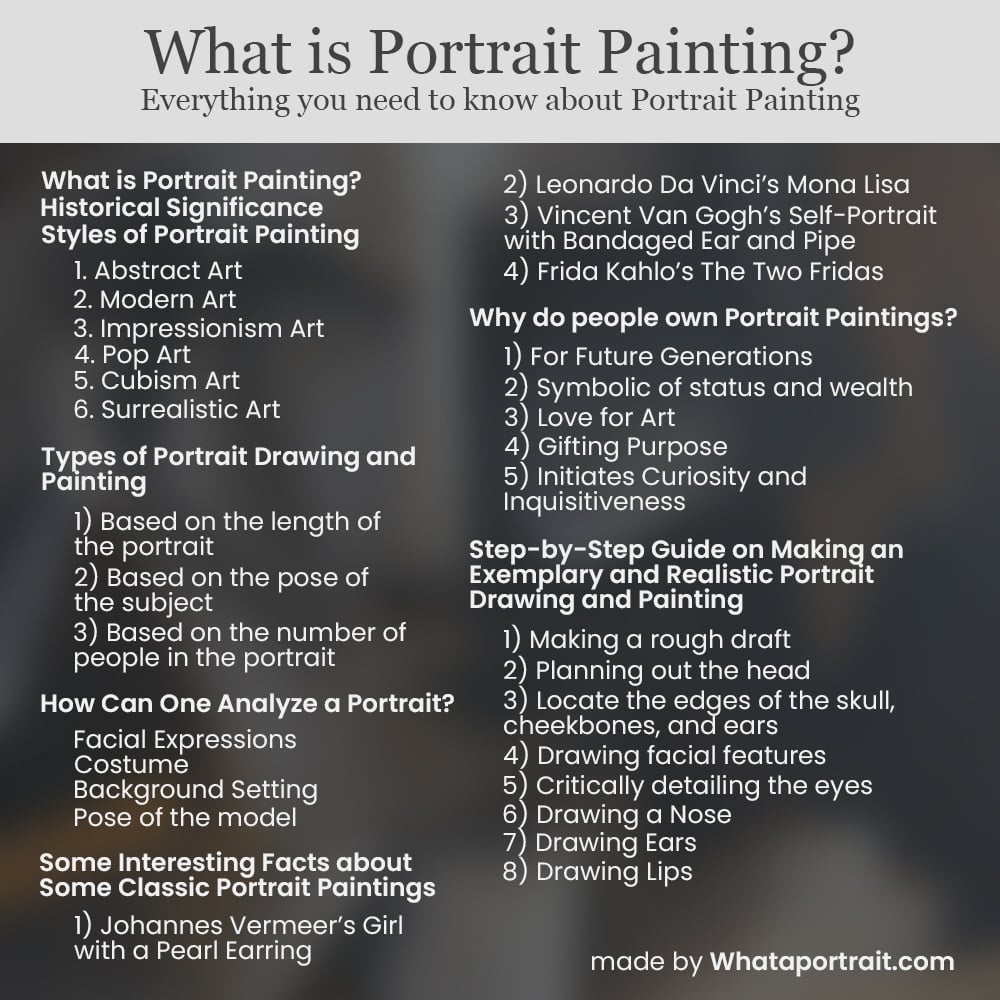
Table of Content
- What is Portrait Painting?
- Historical Significance
- Styles of Portrait Painting
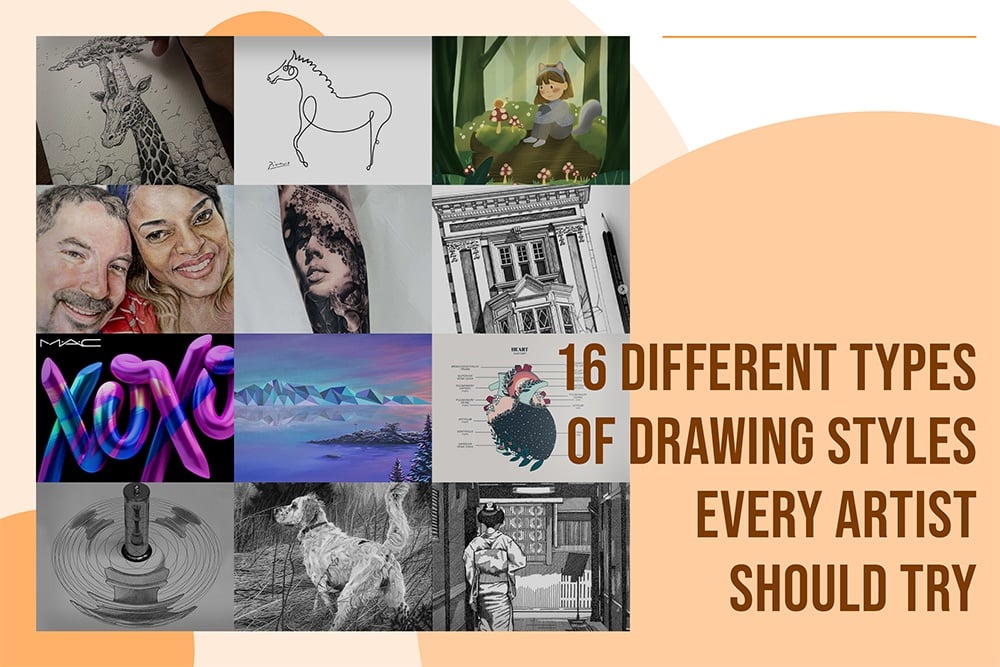
- Types of Portrait Drawing and Painting
- How Can One Analyze a Portrait?
- Some Interesting Facts about Some Classic Portrait Paintings
- Why do people own Portrait Paintings?
- Step-by-Step Guide on Making an Exemplary and Realistic Portrait Drawing and Painting
- Conclusion
Aren’t we mesmerized by eye-catching portrait paintings hung on museum walls? Isn’t talking about a beautiful portrait an excellent way of starting a conversation? Aren’t personalized portraits a great gifting option?
While everyone talks about the beauty of artworks, have you ever wondered what goes behind making such aesthetically pleasing paintings?
If this question interests you, read further to learn about portrait painting. This article will guide you through understanding portrait painting, its history, styles, elements, tutorials, facts, and more.
What is Portrait Painting?
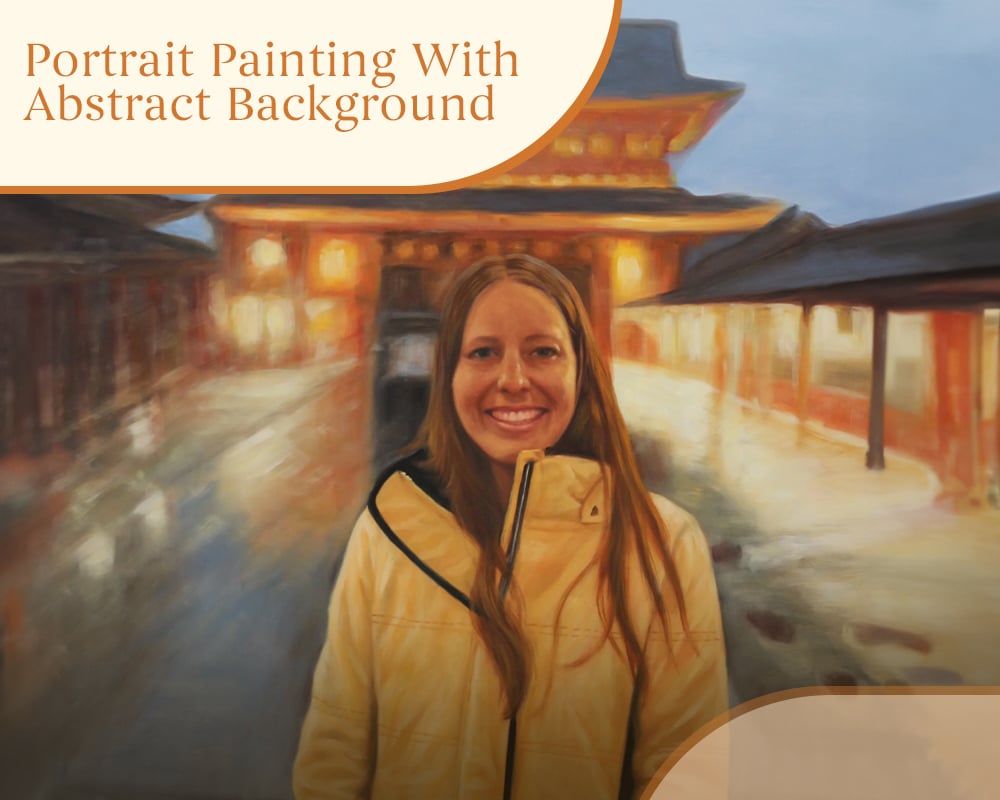
A portrait drawing or painting is a beautiful visual depiction of a person, an animal, or a group. An exquisite portrait is a blend of inspiration, dedication, hours of hard work, and a combination of brush strokes. With the motive of capturing not only the literal image representation but the figurative essence, portrait paintings are a compelling way to showcase a person’s individuality.
An artist creates a portrait to reveal the subject’s personality, beliefs, attitudes, feelings, and thoughts. The emphasis is not only on the outer appearance but on the internal substance and human condition. It is an expressive way of defining a subject’s emotions and experiences.

Credit: Painting Portrait Tips
Genres in painting and the characteristics of portrait painting and portrait drawing differ, affecting people's buying choices. Some ways that distinguish them are:
A portrait painting:
Its colors, water, and design define a portrait in paint. The type of color and medium used help classify the several categories of a portrait, including oil painting, acrylic painting, canvas painting, and watercolor painting. Generally, canvas is the medium used for portraits in painting.
Moreover, artists use a variety of brushes and color palettes to give their portraits the finest look. According to the elements used, a painting needs a specific time to dry up, and one cannot alter it after drying. Yet, this works to the advantage of the artists as they get more time to think it over and add creativity.
Because of the type and technique used, buyers prefer oil paintings over acrylic or watercolor paintings to decorate their houses.

Credit: Deposit Photos

Credit: Quora
A portrait drawing:
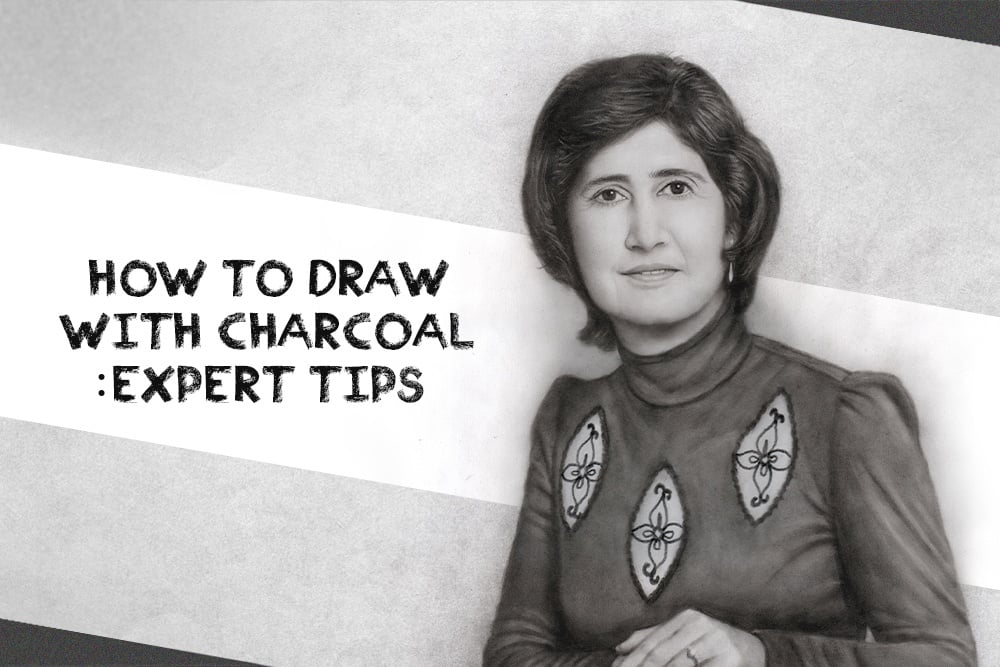
Shades, lines, and pencil strokes are the foundation of a portrait drawing. An artist mainly uses pencils, charcoal, and crayons to make portraits on paper. Owing to the waterless components used, a portrait drawing does not need time to dry up, giving the artists enough time to think creatively and draw something on the medium.
Apart from specific scales used for measurements and a blending stump, there is no need for other particular types of equipment during portrait drawing. Therefore, the material used during painting is more expensive than those used during drawing.

Credit: Anna Bregman Portraits
Historical Significance
Classical portraiture dates back to prehistoric times. Before the advent of cameras, miniature paintings were prevalent in society, and handmade drawings of events and occurrences worked as a historical record.
During the ancient Egyptian civilization, stones, wood, clay, papyrus, etc., were art sources. The Egyptians drew two-dimensional images of their gods, pharaohs, and heroic wars, emphasizing representation rather than realism. One such example is Fayum Mummy Portrait.

Credit: Wikipedia
If we believe literary evidence of writers, they say that in ancient Greek, portraiture was prevalent. However, no such sample of paintings exists now.
Ancient Rome has a rich history in art, whether metalwork, engravings, frescos, or paintings. The visual culture of the Greeks, Etruscans, and Egyptians inspired the Roman civilization’s art. They related the art culture with religious use and developed a strong tradition.

Credit: Wikipedia
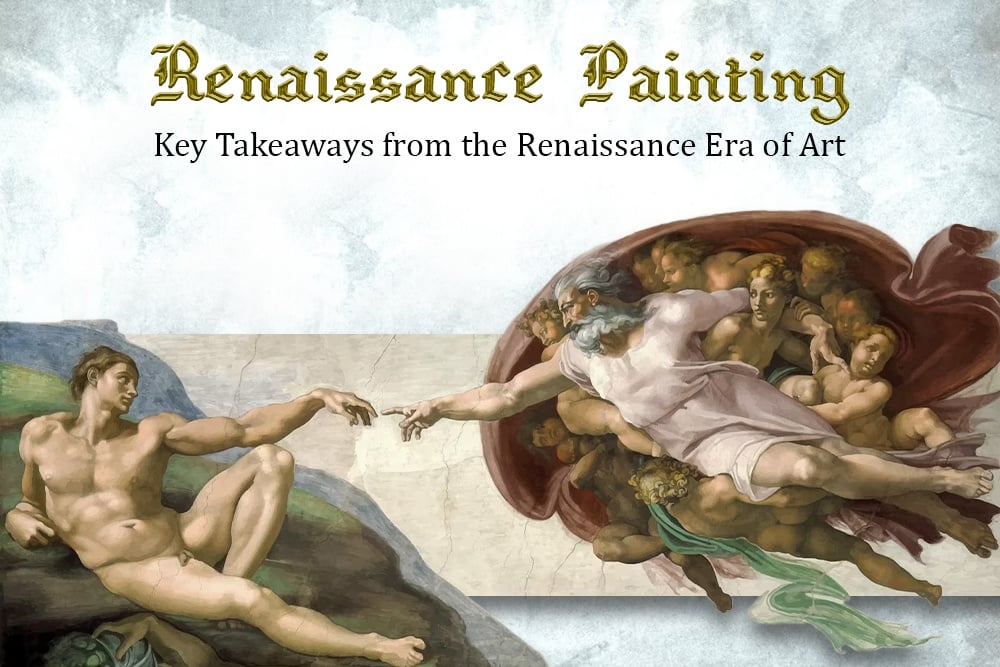
In the early medieval age, commissioned portraits of saints from manuscripts and mosaics became popular. An example of this is a ‘Self-Portrait by Hildegard of Bingen.’ Renaissance art, known for its iconic artistic contributions to the world, prevailed between the 15th to 17th centuries. Portrait paintings gained massive popularity during the renaissance era.
Some significant innovations and explorations, like self-portraits, oil paintings, portrait miniatures, medals with two-sided images, and two-sided paintings, became prevalent during this period. The Northern European artists made portraits with remarkable realism using finer brush strokes and oil colors. Artists began using canvas instead of wood because of its better quality and toughness. They used linear perspective to give paintings a three-dimensional effect and depth.
Leonardo Da Vinci’s ‘Ginevra de’ Benci’ introduced the world with three-quarter-view paintings. Jan van Eyck’s ‘Man in a Red Turban’ was the first three-quarter-view self-portrait, and it was a new genre altogether.

Credit: Wikipedia

Credit: Art in Context- Man in a Red Turban
Some other celebrated portrait paintings of the Renaissance Era are Robert Campin’s ‘Portrait of a Women,’ Petrus Christus’s ‘Portrait of a Young Girl,’ Da Vinci’s ‘Mona Lisa,’ Caterina van Hemessen’s ‘Self-Portrait,’ Sofonisba Anguissola’s ‘Self- Portrait with Bernandino Campi,’ etc.

Portrait of a Woman

Portrait of a Young Woman

Mona Lisa
The main highlight of renaissance portraits was that they showcased human development, realistic representation, and emotions using light, shades, shadows, linear perspective, and tonal range.
Portrait paintings gained even more popularity during the Baroque and Rococo periods and symbolized status and prestige. Artists, namely Sir Anthony Van Dyck and Peter Paul Rubens, emerged as the masters of portraits.
Some of their masterpieces are ‘Self-Portrait with a Sunflower,’ ‘The Cheeke Sisters,’ ‘Lord John Stuart and his Brother,’ ‘Lord Bernard Stuart’ by Sir Van Dyck and ‘Portrait of a Young Scholar,’ ‘Isabella in Red,’ and ‘Self-Portrait’ by Rubens.

Self Portrait with a Sunflower

The Cheeke Sisters
Further, in the 19th century, with the shift from realism to impressionism, neo-classical artists like Claude Monet and Pierre Auguste Renoir continued depicting human subjects in paintings. They created some of the best sitting and group portraits. Post-impressionist artists like Van Gogh and Paul Gauguin experimented extensively with self-portraits, further encouraging the trend.

Self Portrait of Vincent Van Gogh

Portrait of Alfred Sisley by Renoir
Styles of Portrait Painting
An artist's style of portrait painting sets a portrait's overall tone. How an artist handles the art highlights what message they want to deliver to their audience. These six styles of portrait painting reveal much about the artwork at large.
1. Abstract Art
The abstract painting style is a unique technique of making an independent composition that is non-representational and non-objective. The artist uses random shapes, colors, forms, lines, textures, brush strokes, or paint splashes to form his art piece.
It is not based on any subject or recognizable object and allows the viewer to interpret and make an opinion on the painting. It does not want to portray a specific meaning and is free from any explanation, narrative, or story.

Credit: Pinterest
2. Modern Art
Modern art came into existence between the 1860s to 1970s. It brought about rapid transformation in society after the renaissance era. Modernistic art rejects the traditional and conservative styles of painting. It embraces intense colors and lines and applies fresh perspectives of the artist.
It promotes innovation, experimentation, and invention and gives the impression of individuality and freedom. In the present day, contemporary art has taken the form of modern art.

Credit: Artsy
3. Impressionism Art
The three main elements of impressionism are bold and thick brush strokes, brighter tones, and unblended colors. It creates an illusion of depth and movement with light, shades, and angles. Impressionist art aims to get a more realistic representation of the subject from farther away, focusing on the object's expression and not its minute details.

Credit: Saatchi Art
4. Pop Art
Influenced by popular culture, pop art emerged in the 1950s. Playing with bright colors, humor, and satire are the main components of pop art. It uses innovative techniques, and the mass media impacts it.Initially, pop art faced backlash against traditional fine art, but today it is an art style that speaks the language of all generations.

Credit: Artmajeur
5. Cubism Art
Started in the early 1900s by Pablo Picasso and Georges Barque, Cubism is a form of art that focuses on presenting things from different angles. The main elements of Cubism include adding geometric shapes, straight lines, multiple perceptions, passages, and a monochromatic color palette.
In Cubism, artists focus on breaking a subject into profiles and pieces and combining them to provide different perspectives. It also emphasizes two-dimensional paintings instead of using linear perspective to create depth in portraits.
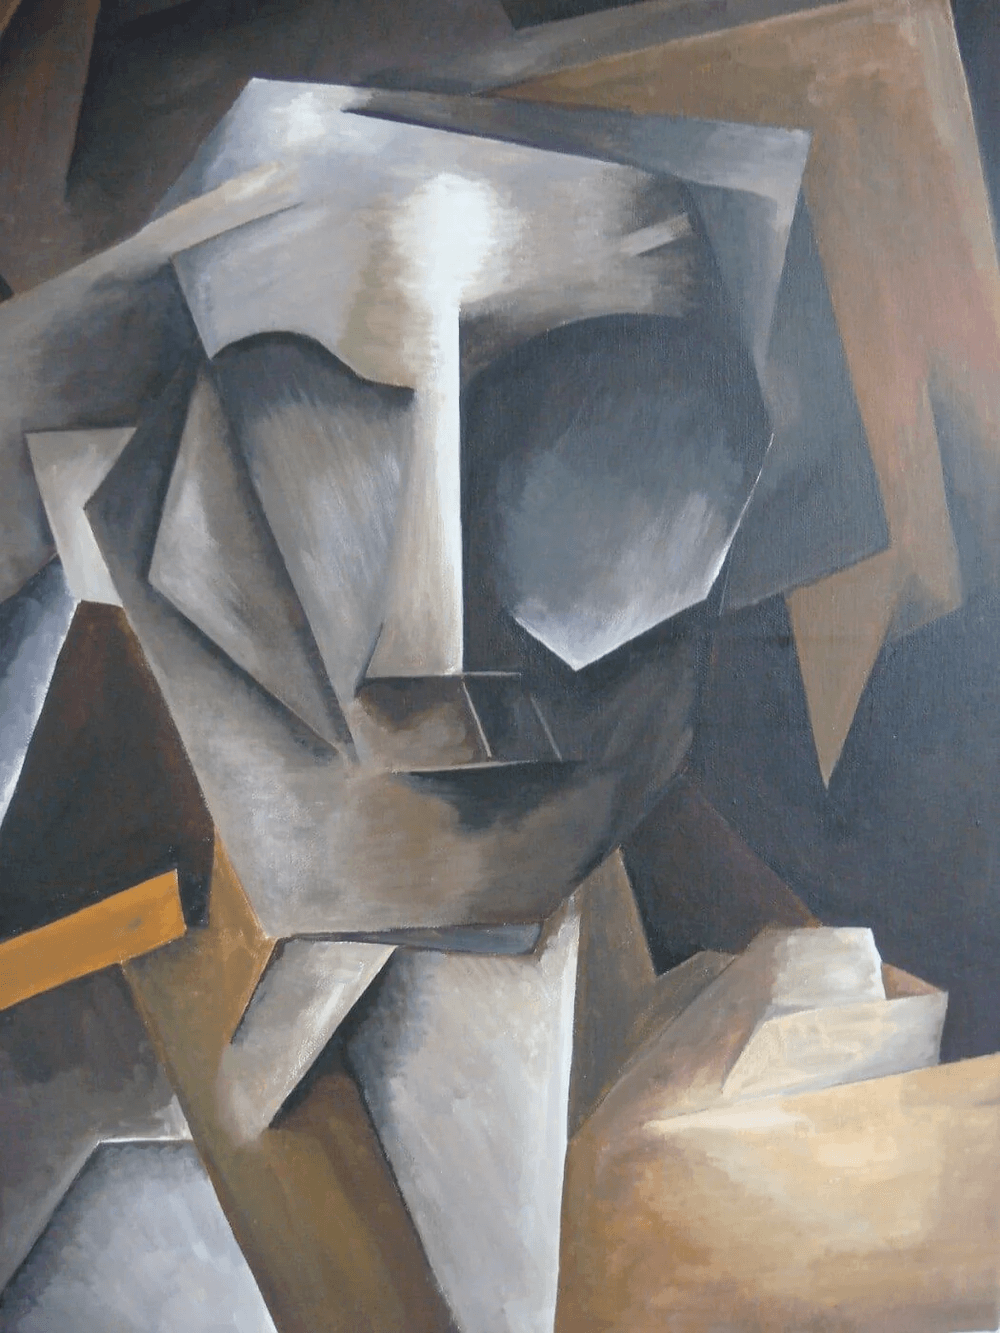
Credit: The Tallenge Store
6. Surrealistic Art
Surrealistic portrait painting involves representing natural objects in imaginary situations. It depicts unrealistic and unconscious ideas, thoughts, and dreams. It is an art that surpasses reality. Surrealism portrays a subject between hallucinatory shapes, colors, objects, and ideas.
It draws inspiration from daily dream-like situations or some unimaginable weird things. Surrealistic portraits focus on mismatched and subconscious elements and let their viewers form perceptions and views according to their understanding.

Credit: My Modern Met
Types of Portrait Drawing and Painting
The classification of portrait paintings includes:
1) Based on the length of the portrait:
● Full-length portrait
A full-length portrait covers the entire body of the subject in the frame. With the right balance of shadow, shade, and angles, the artist can create contrast and highlights in the portrait. During the 17th and 18th centuries, royal patrons and aristocrats ordered artists to make full-length portraits as they showcased their royalty, social status, and societal position.

Credit: Fine Art America
● Half-length portraits
In portrait paintings, half-length depicts the subject’s upper body from the head to the waist. The main focus is on the subject, so the background is dull. The subject’s expression catches the viewer’s attention and is the most crucial element in the portrait.

Credit: Wikimedia Commons
● Three-quarter portraits
Three-quarter portraits come in between the entire and half-length paintings. It depicts 3/4th of the subject’s body from the head to the knee. However, this type of portrait is liked only by a few people as it lacks representation.

Credit: Pinterest
● Kit Kat Portraits
It represents less than half the subject's length but mainly includes the hand. Kit-Kat originates from Godfrey Kneller’s series of portraits commissioned for Kit Cat Club members.
2) Based on the pose of the subject:
● Profile View
The profile view captures the subject’s profile, i.e., the side view of the person. The subject’s face turns 90 degrees towards a side. The clear view of the jawline, nose, etc., gives depth to the picture. The angles add realism and make the portrait more aesthetically pleasing.

Credit: Pinterest
● Front View
It represents the subject's whole face in the portrait. The artist attempts to focus on the subject's facial features and capture its expressions. They highlight minute details and depict the person’s feelings or thoughts. The subject's glance may be straight at the viewer or at another direction. The frontal view is a conventional pose with minimal backdrops to focus on the subject’s characteristics.

Credit: Pinterest
● Three Quarters View
The three-quarters view is an angle between the subject's front and profile view. The subject’s face turn 1/4th or 45 degrees in this view. The subject eyes may be directly seeing the viewer, or they may be in another direction.
Leonardo Da Vinci’s ‘Ginevra de’ Benci’ introduced three-quarter-view paintings to the world. Jan van Eyck’s ‘Man in a Red Turban’ was the first three-quarter-view self-portrait. The three-quarters view is most prevalent in artists making self-portraits.

Credit: Artsy
3) Based on the number of people in the portrait
A portrait can have an individual, a duo, or a group as the subject. An individual portrait is a painting with one person, whereas a group portrait is one with more than two persons.
● Individual Portrait
Single-picture portrait drawings generally define facial characteristics and features. One can make it a memorial of a person or can gift it to someone for their achievement. In the medieval era, single portraits were significant, and artists used to commission them for majestic kings.
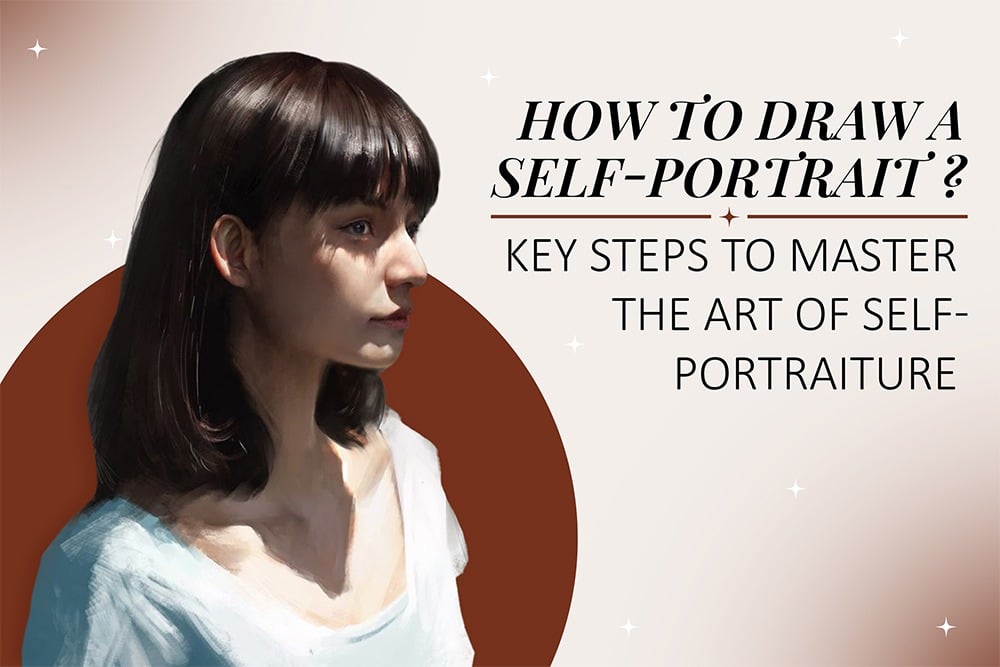
Another variation of an individual portrait is a self-portrait, where the artist tries to represent himself in the painting. He tries to reach his viewers and also tell his story, beliefs, and experiences.
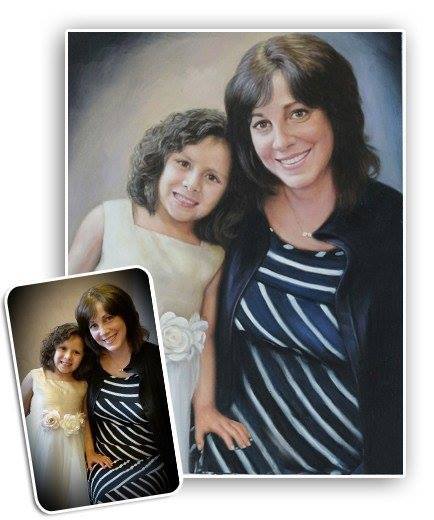
● Duo Portrait
Double portraits represent the bond between the two individuals in the frame, allowing the artist to balance the two complementary or contrasting personalities. The vibe of the painting gives an idea to viewers about the relationship between the two subjects.

Credit: Art UK
● Group Portrait
In group portraits, the artist tries to capture the group's emotions together. It may be a family group portrait, a formal meeting portrait, or a team portrait. The poses in a group portrait can vary from all people standing to all people sitting or some standing while the others are sitting.

Credit: Eclectic Light Company
How Can One Analyze a Portrait?
While everyone loves viewing portraits, interpreting and analyzing them can be tricky. Typically, artists do not merely want to paint a beautiful portrait. They also intend to deliver a message or tell the audience a story or life experience about their subject.
Sometimes, the artist distorts the model’s face to add layers to the representation and enhance or create a tonal range. They try to reveal the subject’s profession, tendencies, occupation, dressing sense, personality, beliefs, thoughts, etc.
There are no foolproof methods or steps to understand a portrait drawing or painting; it entirely depends upon the viewer's perceptions and opinions. However, these points can help get a better idea or understanding of a portrait.
● Facial Expressions
Facial expressions can say a lot about a person. Observe whether the subject looks happy or sad, whether their eyes are complaining, hurt, or shining brightly with joy, whether he seems upset or content, lively or tired, angry or surprised. Some examples of facial characteristics include raised eyebrows, frowning expressions, broad smiles, and big eyes.
● Costume
A model's dress or clothing can strike a thought in the viewer's mind. Are the models formally or casually dressed? Are their clothes expensive or worn out? Are they wearing something fashionable or something outdated? Are they dressed up in a uniform of a particular profession or not? All such observations can add to a viewer’s understanding of the model.
● Background Setting
The backdrop in the painting can help the spectators comprehend the details of the model. Particular objects or possessions in the surrounding can give the viewers a clearer idea about the subject's essence. Props that the sitter is holding can also provide crucial information.
Observe whether the setting is dull or bright, dark or vibrant, shabby or well-cleaned, indoors or outdoors. For example, a serene outdoor background of a garden with a sad expression on the model’s face can give a contrasting interpretation to the viewers. These questions help you know the backstory of the model.
● Pose of the model
The sitter's body language can help the audience comprehend minute details about them. Monitoring the gestures can have a significant impact on the opinion of the viewer. For example, alert and attentive body language is a brave person’s trait, whereas a fearful expression can signify that one is scared of something. Drooping shoulders and hanging faces can demonstrate tiredness and unhappiness.
Some Interesting Facts about Some Classic Portrait Paintings
1) Johannes Vermeer’s Girl with a Pearl Earring

Credit: Wikimedia Commons
The controversy of Vermeer’s ‘Girl with a Pearl Earring’ evolves around the girl’s identity and the pearl earring. Some believe the pearl isn’t a natural pearl but a glass earring. According to the Mauritshuis museum, the pearl in the painting is an illusion of the opaque and transparent effects of the white paint. They claim that the earring's hook is not present in the painting, and because of the shades and highlights of white color, people misinterpret it as a pearl earring.
The girl’s identity and relationship with Vermeer are also mysteries around which discussions happen. These speculations have led to a movie, novel, and stage play named ‘The Girl with a Pearl Earring.’
2) Leonardo Da Vinci’s Mona Lisa

Credit: Wikipedia
The world’s most famous painting, the ‘Mona Lisa’, has always been the talk of the town. Because of its mysterious smile and missing eyebrows, it has been the topic of people’s debate. Many assume that the painting was left incomplete. In contrast, others believe that Vinci initially painted the eyebrows, but they faded with time.
Monalisa has also survived multiple attacks, including a famous theft in 1911, the headlines of which were displayed in the world’s popular newspapers. It returned to Louvre Museum after two years of its disappearance.
3) Vincent Van Gogh’s Self-Portrait with Bandaged Ear and Pipe

Credit: Wikipedia
Vincent Van Gogh’s ‘Self-Portrait with Bandaged Ear and Pipe’ has a tragic backstory. Some believe that Van Gogh suffered from depression, and he cut off the lower part of his left ear with a razor and gave it to a cleaner in the brothel.
In contrast, others say that in an argument with Paul Gauguin, he threatened to injure himself, cutting his left ear lobe. They believe that he presented it to a prostitute in a brothel. Van Gogh frequently suffered from similar fits, which resulted in him hitting himself.
4) Frida Kahlo’s The Two Fridas

Credit: Wikipedia
The ‘Two Fridas,’ a double self-portrait by Frida Kahlo, is her first large-scale artwork. In the portrait, she represents the two Fridas, the one dressed in a European-style gown and the other dressed in a formal Mexican outfit.
Some people believe that the cut and torn heart and the miniature portrait of Rivera, her then-husband, in the painting represent Frida's physical pain and emotional trauma after her divorce from her then-husband. It also depicts the constant pain and problems from her childhood.
Some people also believe the blood in the portrait describes womanhood, mortality, and fertility.
Why do people own Portrait Paintings?
People usually commission portrait paintings for state records, family records, or in remembrance of a loved one. People hire portrait painters to create aesthetically pleasing portraits for memorable events with their families and loved ones.
Some reasons people own portrait drawings and paintings are:
1) For Future Generations
Before the advent of cameras, paintings were the sole source of transmitting information in pictorial representation. People generally commissioned self-portraits or portraits of their families for future generations. Portraits would outlive generations and pass on legacies to their grandchildren and great-grandchildren as a memory.
2) Symbolic of status and wealth
In the medieval and the renaissance era, portraits symbolized a person's social status and societal position. Aristocrats would commission self-portraits from portrait painters and paintings of important events, wars, and setups. Portraits of the rich dressed in expensive and royal ornaments were prevalent in those ages. It signified social standing and prosperity.
3) Love for Art
Portraits depict a person’s likeness, interests, culture, beliefs, etc. A good portrait painter can capture and put the best of the subject on the canvas. Using shadow, light, shapes, and shade to highlight the portrait makes them more attractive.
Many people buy portraits because they value and adore masterpieces by artists. They feel a strong emotional connection with the artwork. They hire portrait painters to create a portrait in memory of a loved one or to store a significant recollection.
4) Gifting Purpose
People widely buy portraits for gifting on special occasions. They order local artists to make individual, couple, or family portraits.
Portraits arise a feeling of affinity, care, and love in the viewer. The most frequent buyers of it are grandparents, brides, pet owners, and tourists. It is a gift that can last forever.
5) Initiates Curiosity and Inquisitiveness
Portraits have a lot to tell. People who curiously analyze portraits look into finer details and try to explore the hidden meanings and expressions in them. They study the artists' courage and honesty in representing their subject's imperfections and flaws. Moved by such intricating things, art enthusiasts buy art.
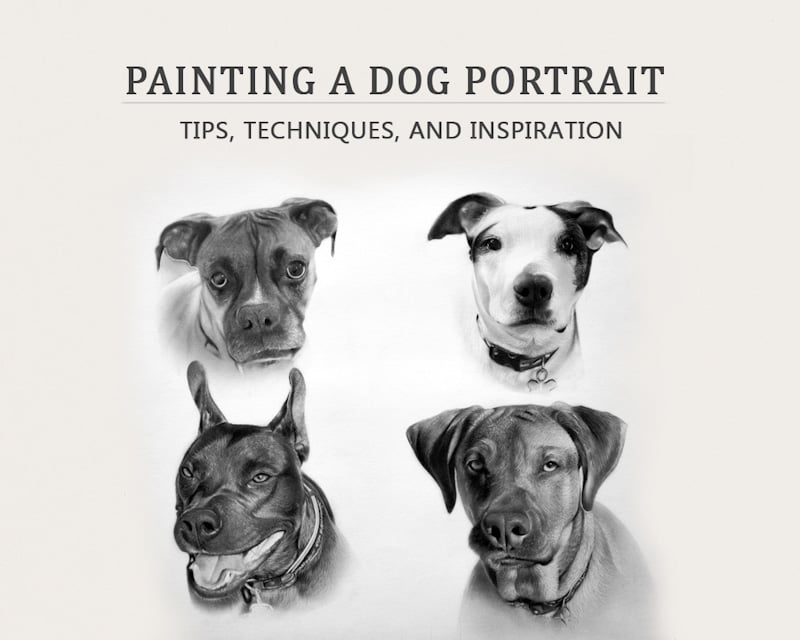
Step-by-Step Guide on Making an Exemplary and Realistic Portrait Drawing and Painting
To draw lifelike and realistic portraits working on the face and facial features is essential. Here are some tips and techniques for drawing natural portraits.
1) Making a rough draft:
Planning a roadmap or blueprint and sketching rough ideas are essential. The first crucial step while making a portrait is drawing a block-in. A block-in is a detailed line drawing focusing on correct proportions, shadow shapes, facial characteristics, construction lines, and head placement.
Note that the portrait's likeness to the subject depends upon the right proportions and placement of facial features. The placement of an eye is more important than its shape, size, or color. The reason is that years later, a person may lose some hair or have wrinkles on his face, but the things that remain unchanged are the features and proportions of his face.
So now the first step is to decide the measurements of your drawing, i.e., the width and height on paper. Start from general measures of the face and then move towards more specific and smaller sizes.
2) Planning out the head
After you have decided on the measurements of the face, visualize the angle of the head. Is it straight, upright, titled, or a three-quarter view? To do so, you can extend the pencil toward the model’s face to get a clearer idea of the angles.
After identifying the angle, start drawing a general shape of the face with light pencil marks so that it can easily be erased and edited. While some suggest artists make two lines to draw a rough size, others advise making a shape, preferably oval, square, or round to heart, and then drawing a horizontal and a vertical line. Make a defined outline of the model’s face by precisely working on the angles.

Credit: The Drawing Academy
After completing the previous step, divide your face from the hairline to the bottom edge of the chin into three equal parts:
- First, from the hairline to the eyebrow line.
- Second, from the eyebrow line to the bottom of the nose.
- Third, from the nose's base to the chin's bottom edge.
Using a pencil, draw these straight lines accurately according to your model.

Credit: Rapid Fire Art
Now, draw an eye line, a horizontal line at the halfway point that divides the head into two halves. You may make a straight or curved line depending on the angle of your model’s head.
3) Locate the edges of the skull, cheekbones, and ears
Drawing the line of the skull base will help you accurately locate and connect the head, neck, and shoulders. After outlining the edges, start drawing the ear's top edge. The ear’s top edge is universal for all portraits. It comes in the same as the eyebrows line. Extending the eyebrow line outside the face construction lines will help you make the ear edge.
4) Drawing facial features
With the help of the construction lines, now block in different shapes as features. Start by placing the ear with its top edge at the same level as the eyebrow line and the lower edge at the same level as the nose’s base.
Continue to block in large shapes as features with the help of straight lines and gestures. Gestures are the curved lines that join one element from the other, creating an underlying structure that joins all aspects.

Credit: Pinterest
Now, look for negative spaces to contour your portrait’s face. Negative spaces are beneficial while contouring your face. It refers to the spaces which are not in form. A slight change in your perspective can bring significant changes to your drawing.
Now after blocking in shapes for drawing facial features, make shapes for highlights and shadows. When the shapes block in for shadows, you may start giving a three-dimensional look to your portrait by shading the darker areas. Work on the tonal ranges and tonal values to begin giving some roundness to the shape of the head.
5) Critically detailing the eyes
Now, it is time to focus on your eyes and work on the finer details. During the placement of eyes, remember there is generally one eye space between the two eyes. Add some directional marks that include the eyelids and eye socket. Some tips to remember while detailing your eyes are:
- The pupil centers within the iris, and they are perfect circles when the eye looks straight. But, they turn ellipses when the eye looks in other directions.
- The pupil is the darkest area and should be filled smoothly with the darkest tones. But leave some space for the catch light.
- Focus on the thickness of the lower lid while drawing eyes. It is crucial as it gives depth to the eyes.
- The patterns within the iris vary depending on the eye’s color.
- All the eyelashes should come together on the upper lash line.

Credit: Pinterest
While drawing eyes, focus on accuracy and final details. Lay the patterns in the iris as required. Also, leave some white area in the pupil and iris for the catch light. Blend the white area carefully to give a realistic and rounded look.
Use quick pencil strokes to add eyelashes, grow in layers, and do not cluster them. Now focus on the lashes on the bottom eyelid and carefully work on them. These minute details add dimensions to the facial features.
6) Drawing a Nose
There are two types of nose-making: the front-view nose and the profile-view nose. Much practice is required to excel in them. You can use the grid method to draw the nose area's line. Do not use straight lines while making a nose; instead, use curves, as a nose has no sharp edges.
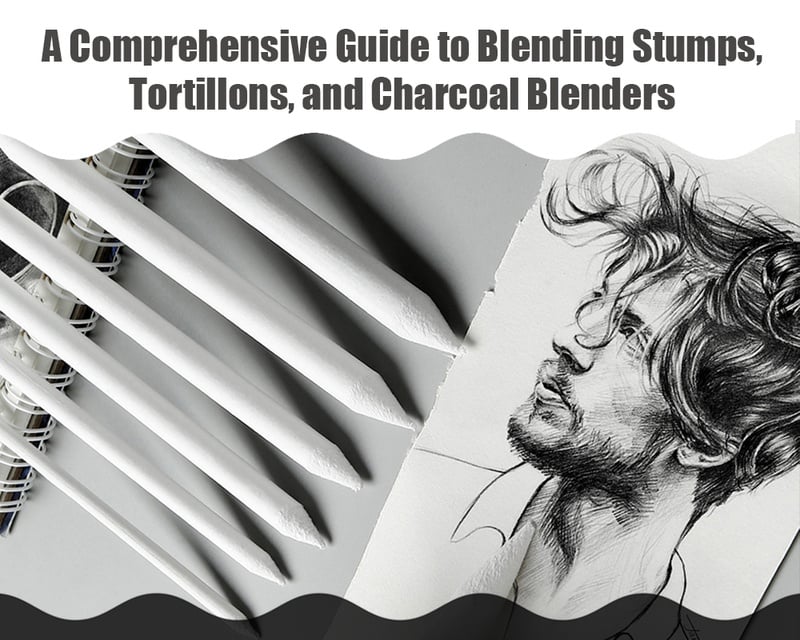
Develop the patterns of light and dark tones as the bridge of the nose has a little shadow on it. Add reflected light along the nose's lower edge and a shadow to the tip of the nose to make it look rounded. The rim of the nostrils should be darker. Using a blending stump, smoothly blend the dark and light shadows to get an excellent range of tonal value variations. Remember to use light pencil marks throughout.

Credit: Easy Drawing Tips
7. Drawing Ears
While making a portrait, knowing the human anatomy and structure is essential. Some points to remember while making ears are:
- The outer ear overlaps the inner ear.
- The skin of the ear, being oily, should be highlighted more compared to other features so that they look very bright.
- The ear lobe generally resembles a sphere.
- Drawing hair across the ears complements it if making a portrait of a woman.

Credit: Youtube
While drawing the ears, shadows play a vital role. Make the darkest areas with pencil marks, and then make shadows. It creates perfect edges and represents the outer ear overlaying the inner ear. Blend smoothly using a blending stump to get the best results. Make pencil strokes as individual hair to complete the look.
8) Drawing Lips
Drawing a mouth can be a tricky task. While observing your subject, you may notice that the upper lip is smaller than the lower lip and is in the shape of an M. It is also usually darker than the lower lip. The female lips are shinier and fuller, while the male lips are subtle and defined by the shadow they create.
While making the lips, make the upper lip darker than the lower one. Precisely play with the shadow areas and lights to give a defined look to your subject’s lips. Blend smoothly to get tonal value variation. Deepen the dark spots with pencil strokes and lift the light areas by blending them.

Credit: Reddit
After completing the previous steps, work on some final details; your portrait is ready!
While drawing a picture, one should have accurate and correct proportions, construction lines, and shadow areas according to the artwork size. Use straight pipes and curvatures to draw the edges of the different facial features appropriately. Accurate shading, blending, and usage of pencil strokes also give portraits a creative edge.
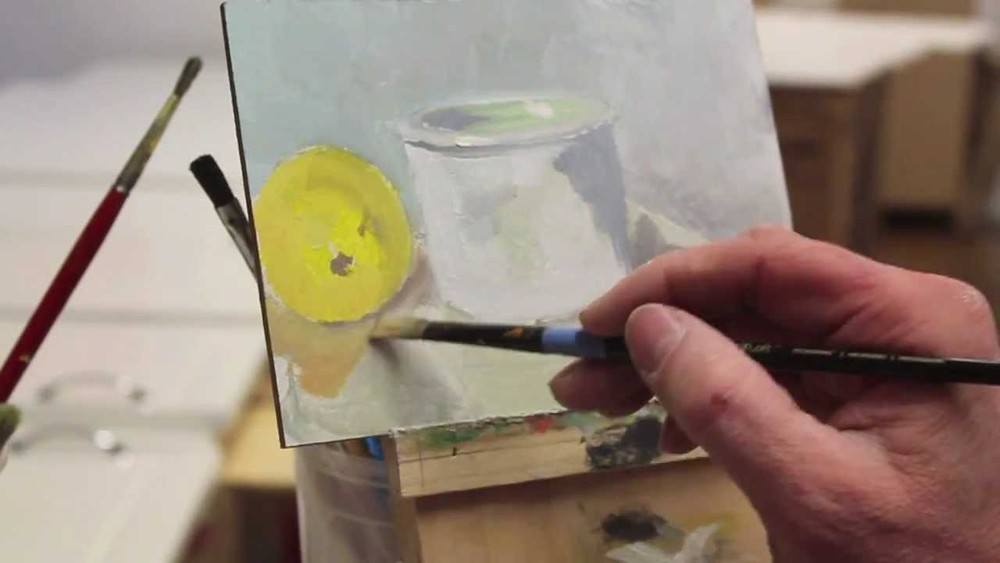
Making a portrait in paint is a demanding task. One has to make lots of effort and play with the colors, brushes, textures, shadows, highlights, and background.
- First, decide on the model.
- Set the backdrop of the setting.
- Center the portrait in the middle of the canvas.
- Start by making a rough draft with a brush and paint.
- Draw roughly the positions of the facial features.
- Work on the skin tone of the model
- Now delicately work on the finer details of drawing eyes, eyebrows, lips, nose, ears, etc.
- Incorporate paint, blend the skin tone smoothly, and work on the final details.
You can also watch video lessons uploaded online to learn more about portrait drawings and paintings. Paid portrait drawing and painting video courses are also available online. You just need passion and dedication to learn.
Conclusion
Portrait painting is one of the most creative art forms. Whether for gifting purposes, to capture good memories, or made in fond memory of someone, they are always good to use.
In the 1800s, completing one portrait painting with many sittings with the model took about a year. Today, with the advancement of resources, an experienced portrait painter can make a portrait in 12-15 hours using a photograph and earn a lot of money.
Hopefully, this article has helped deepen your understanding and expanded your knowledge about portrait paintings. So, do not hesistate next time you wish to paint or draw a portrait and let your creative side catch you.